Collect email addresses from your website in Notion
In this tutorial we will show you how you can collect emails and other data from your landing page using Splitbee and Notion.
Requirements
- A website using Splitbee. If you don't have one, create an account and embed the script. It just takes 2 minutes to get started.
- A Notion account that will hold our database
1. Setup form tracking
First, you need an HTML form on your website that you will use to collect email addresses. Splitbee provides an easy way to track form data for you. Add the data-splitbee-event attribute to the form tag like following.
<form id="submit" data-splitbee-event="Submit Form"><input placeholder="Email" type="email" name="email" /><input type="submit" /></form>
Learn more about form tracking in our event tracking docs.
In this example, we want to show a success message when someone submits the form. We also prevent the form from reloading the page by calling event.preventDefault().
<script>document.getElementById("submit").addEventListener("submit", function (event) {event.preventDefault();alert("Thank you for your submission");});</script>
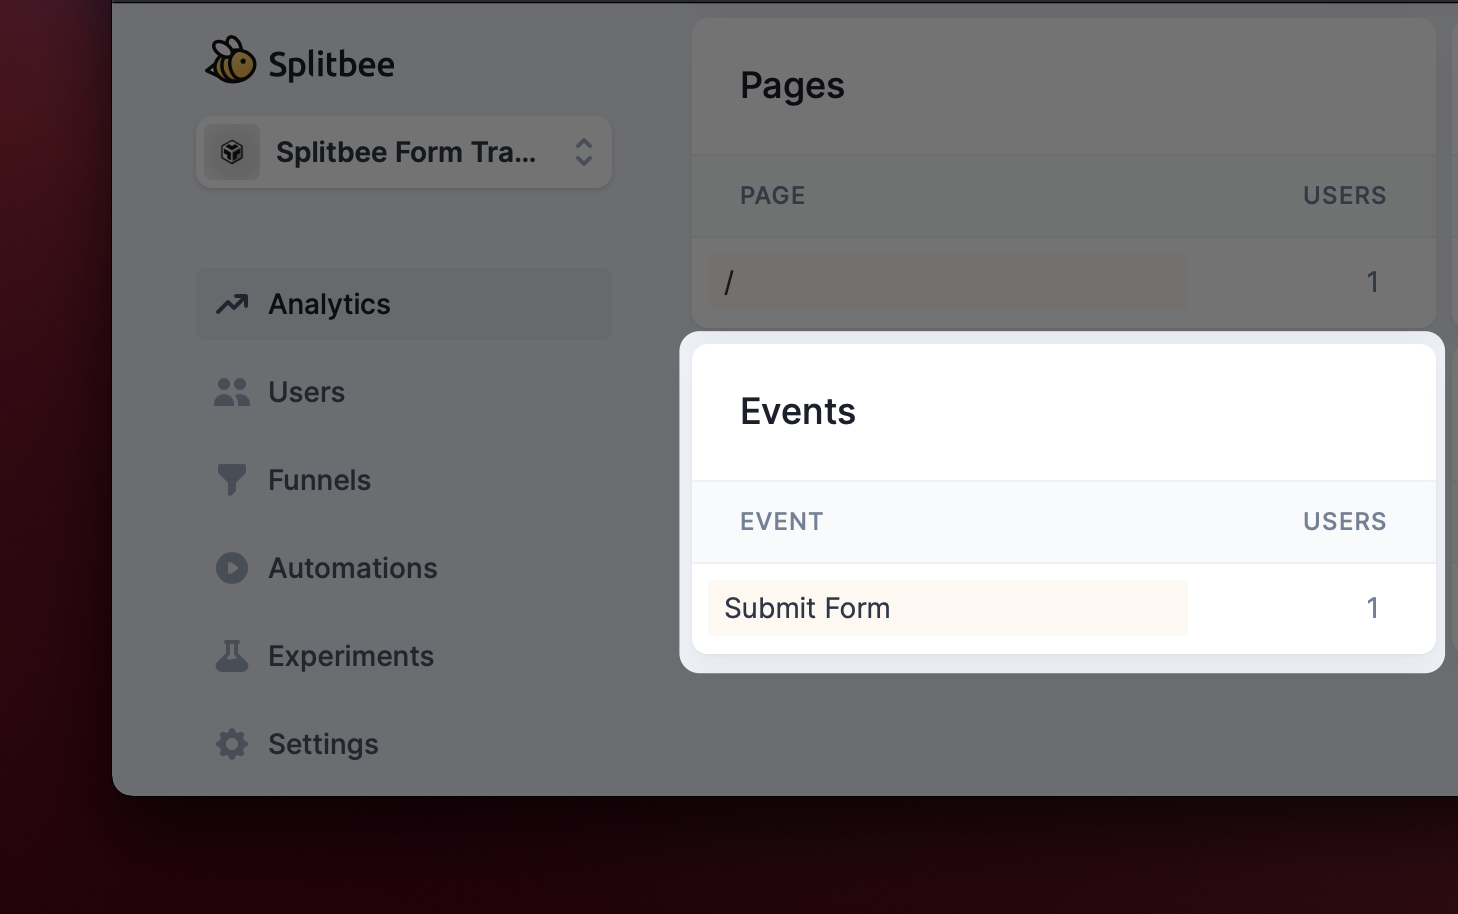
To test the functionality, enter an email address and press submit. You will see a new custom event in the Splitbee dashboard.

2. Setup Notion Integration
To enable Notion actions in automations you will need to head over to Settings ➜ Integrations within the Splitbee Dashboard. Check out the detailed documentation here.
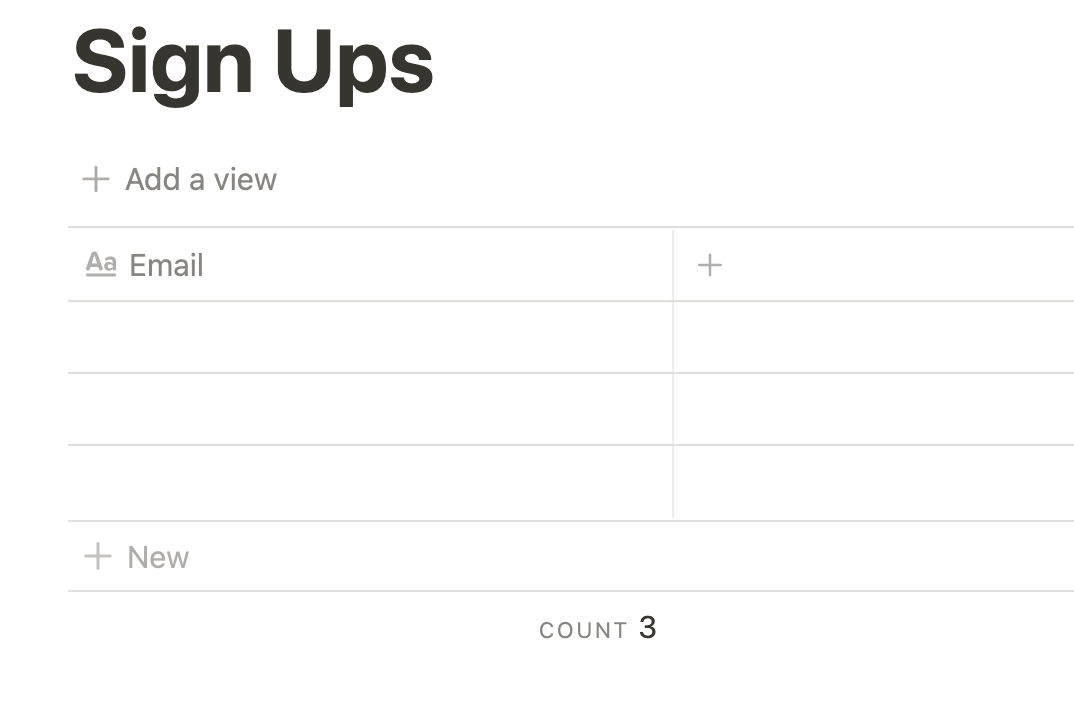
3. Create a new Notion table
For this example we created a new Notion database with only one column called email.

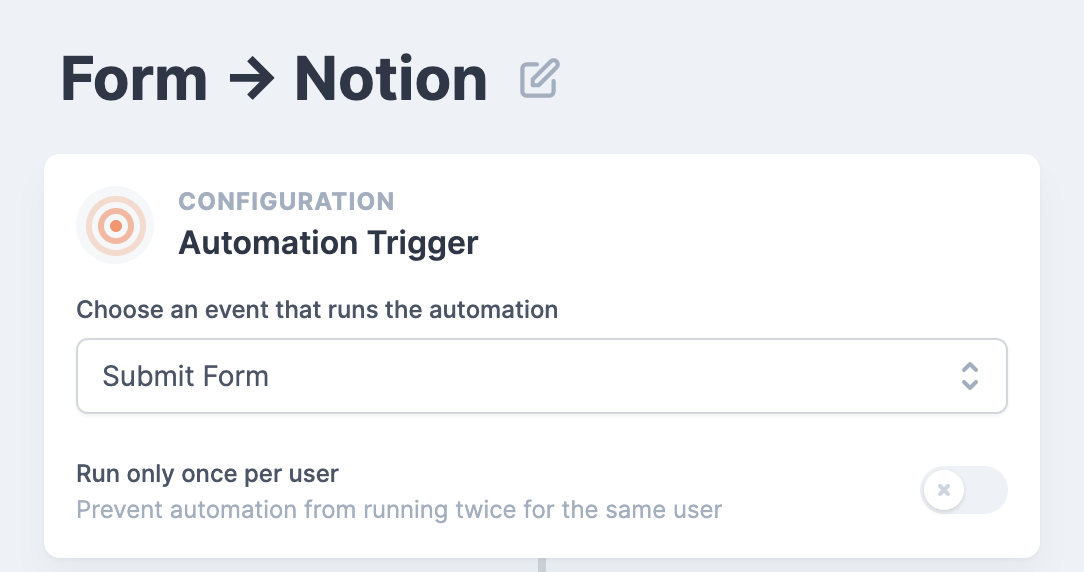
4. Create new automation
We now create an automation that will listen on the event we specified above. In our example the event is called Submit Form

After that, add a new Notion action.

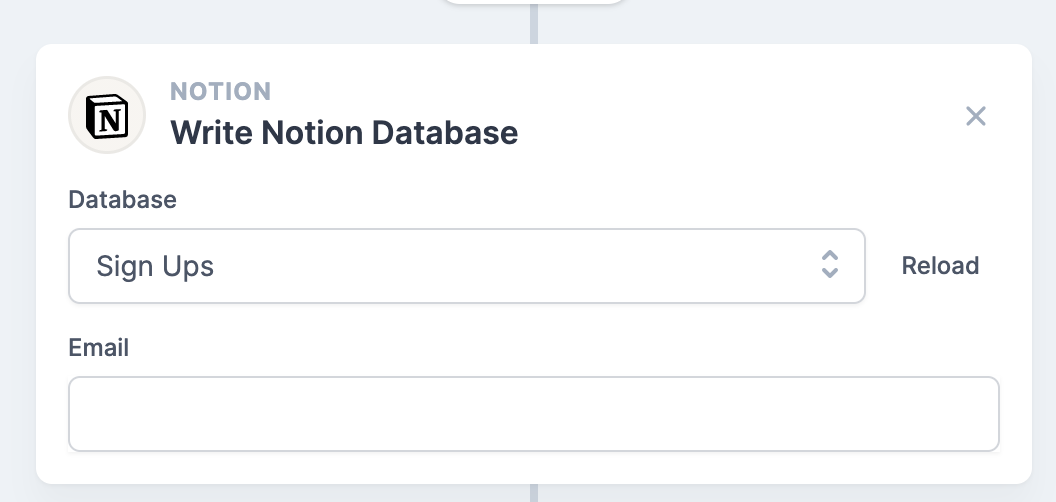
It will list you all databases that Splitbee has access to. If your database is not listed, head over to Notion, press Share ➜ Invite and give Splitbee access to the database. Press Reload to get all available databases.
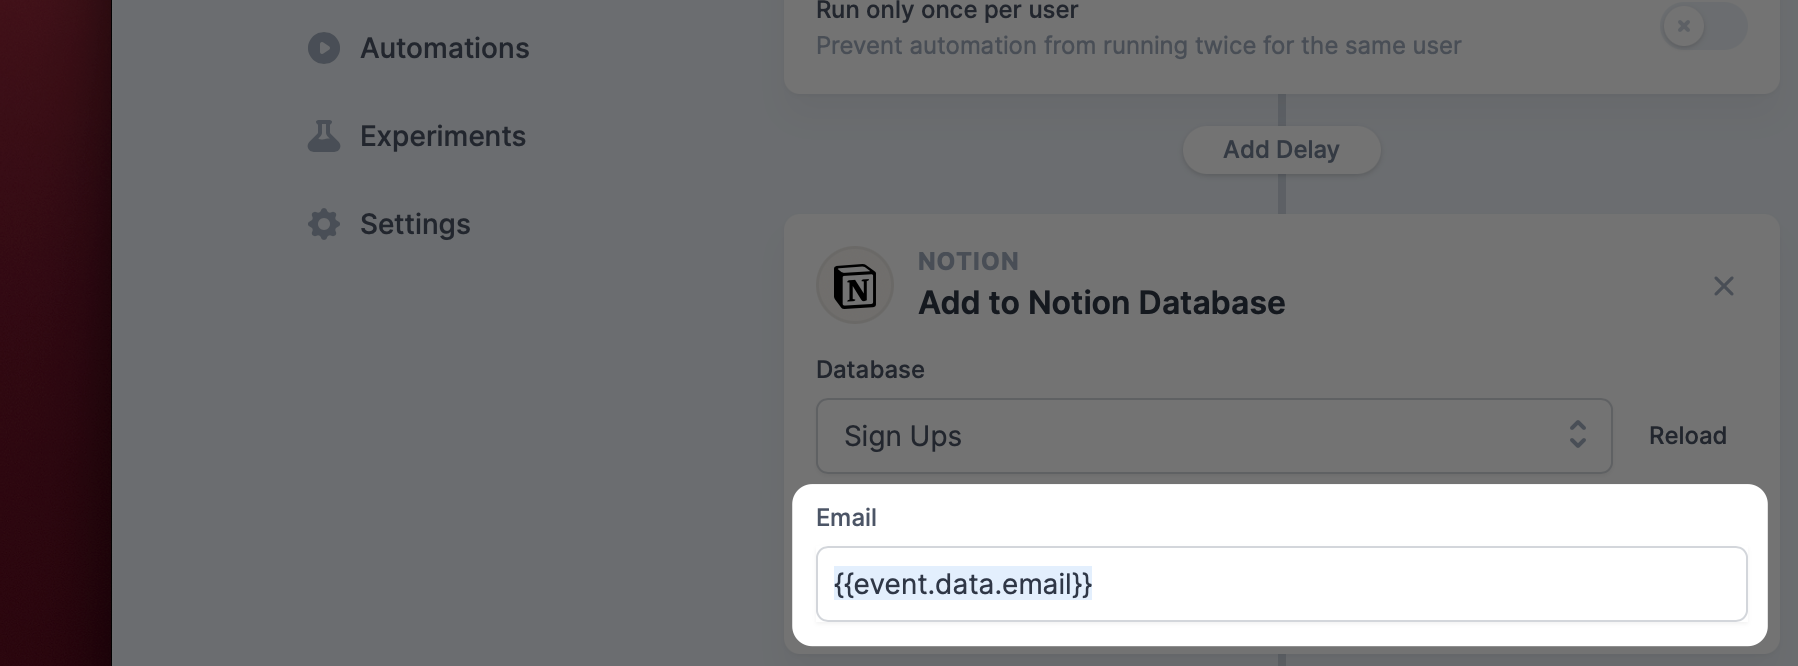
Configure Action
We now want to store the data from the form submission event. Type {{ to open the autocomplete menu.
{{event.data.email}} will use the email of the form submission.

Save the automation and head over to the last step – testing it!
5. Test the automation
Try to submit the form. Be aware that it can take up to one minute until the automation will be active.

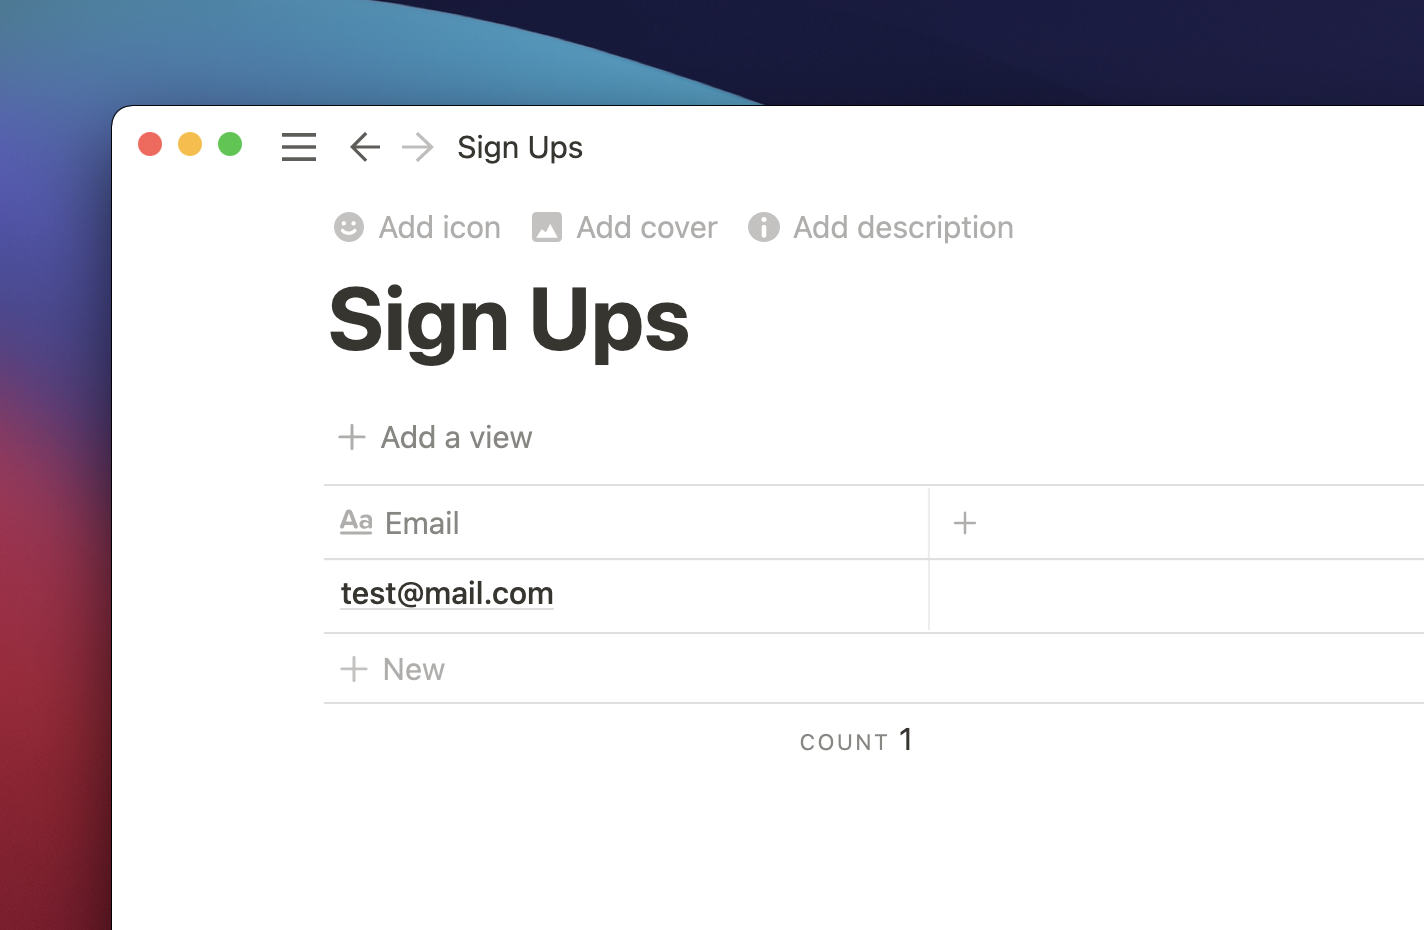
You have successfully added your first entry into Notion using Splitbee Automations. This was a basic example so you can build more complex things like collecting feedback from your customers.
You can find the example code here:
https://codesandbox.io/s/splitbee-form-example-uls9g
The submission website: https://uls9g.csb.app/