We wanted to start a blog for a long time. We had experiences with Markdown when it came to building blogs. While this is a solution that works for a lot of people, we missed the rich content editing from Notion. Why not build a blog that uses Notion as a CMS? After some research we found the following repository from Vercel. They already did what we wanted: They built a blog using Notion and NextJS. After some more digging, I stumbled on chorale.app, a Notion Page renderer. It takes Notion pages and renders them. These projects are example implementations but they don't contain a wrapped up package that could be easily used. Thats why we created react-notion.
This post was brought to you by Splitbee.io. Splitbee is an all-in-one analytics & conversion tool that simply works and makes your life easier. Give it a try, it's free.
Render Notion pages in React with react-notion

I loved the idea of being able to display Notion content inside React apps. That's why we started building our own renderer, which is now open-source under react-notion. We took inspiration off the projects mentioned above and built a minimal package that can render nearly all block types of Notion.
All you need is to provide a blockMap to the react-notion Component and it will render the your content.
Access the Notion API with notion-api-worker

To get the blockMap, which is the internal data structure of Notion, you would need to to query the complex private Notion API. That's why we created a serverless wrapper. It's based on Cloudflare Workers and due to their caching mechanism we are able to provide best response times all over the world <100ms
Building a simple blog
For this example we are going to use Next.js, react-notion, and notion-api-worker
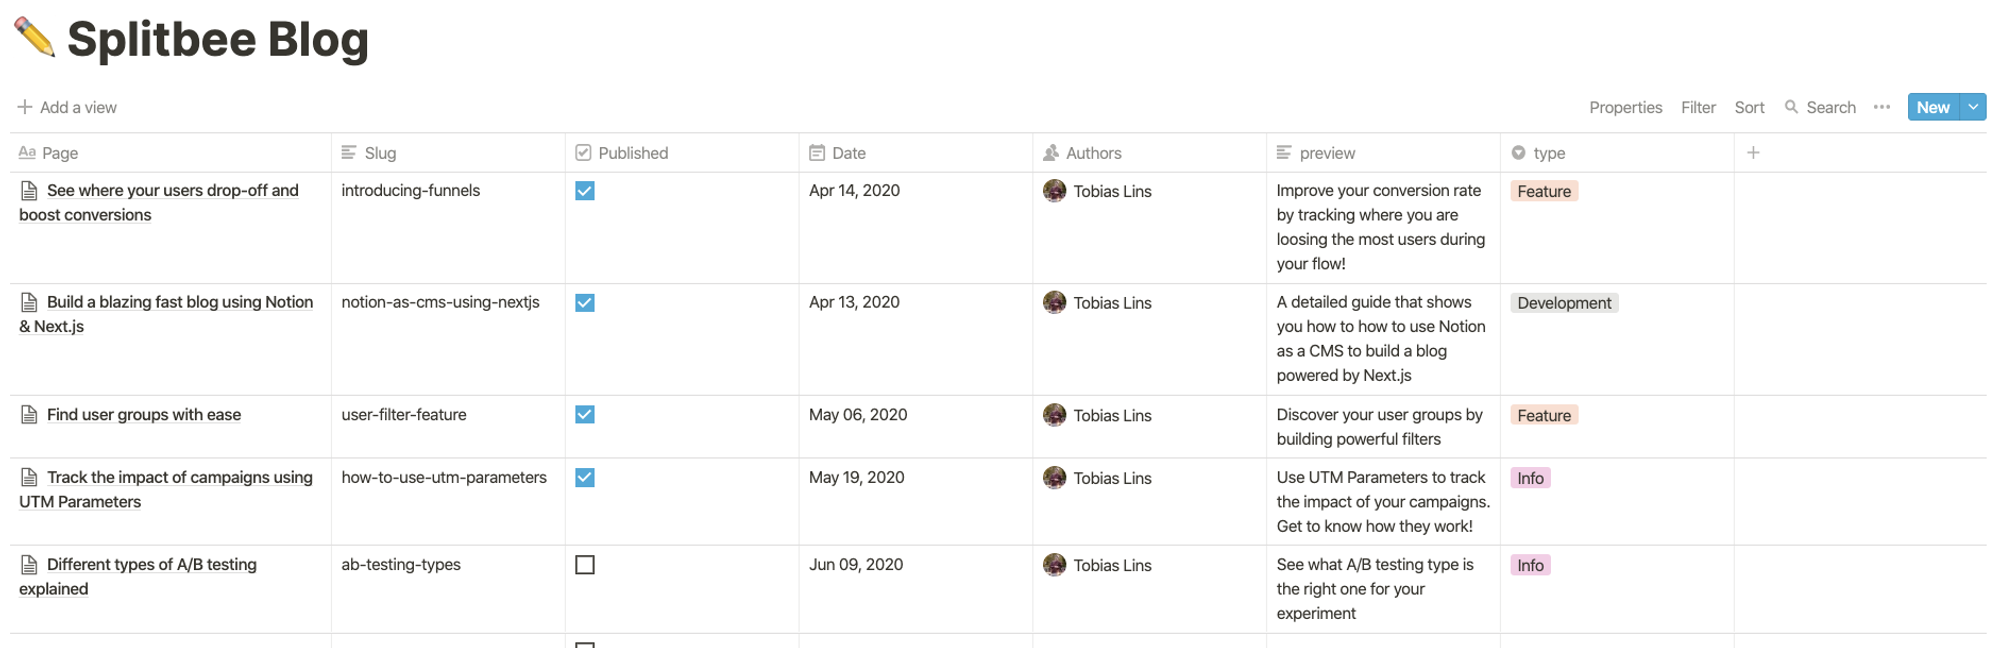
Create a new Notion page with a table database template. You can duplicate this page. Each row represents a single blog post.
Every Notion page has a pageId in the URL. We need it to query all posts later on. For this example we get following id out of the link: 1099525da7e5405c961706de56622ccd
Setup a new Next.js project using the guide provides by Vercel: https://nextjs.org/docs/getting-started and install react-notion to the project.
After you have created your first page in /pages/index.jsx we will start implementing our blog overview page.
Creating the blog overview page
Let's fetch all blog posts from Notion so we can render a list of them with getStaticProps.
/pages/index.jsx
import Link from "next/link";const NOTION_BLOG_ID = '1099525da7e5405c961706de56622ccd'export const getAllPosts = async () => {return await fetch(`https://notion-api.splitbee.io/v1/table/${NOTION_BLOG_ID}`).then((res) => res.json());}export async function getStaticProps() {const posts = await getAllPosts()return {props: {posts},};}function HomePage({ posts }) {return (<div>{posts.map((post) => (<Link href="/[slug]" as={`/${post.slug}`}><div>{post.title}</div></Link>))}</div>);}export default HomePage
We now successfully implemented the blog overview page
Now we need to create another page to render the content of each blog post.
/pages/[slug].jsx
import { NotionRenderer } from "react-notion";import { getAllPosts } from './'export async function getStaticProps({ params: { slug } }) {// Get all posts againconst posts = await getAllPosts();// Find the current blogpost by slugconst post = posts.find((t) => t.slug === slug);const blocks = await fetch(`https://notion-api.splitbee.io/v1/page/${post.id}`).then((res) => res.json());return {props: {blocks,post,},};}export default ({ post, blocks }) => (<div style={{ maxWidth: 768 }}><h1>{post.title}</h1><NotionRenderer blockMap={blocks} /></div>);
Last, we need to implement getStaticPaths in [slug].jsx to tell Next.js were to find all blog posts.
export async function getStaticPaths() {const posts = await getAllPosts();return {paths: posts.map((row) => `/${row.slug}`),fallback: true,};}
The only thing missing now are the stylesheets (CSS)
With Next.js we need to import them in a custom _app.jsx
import "react-notion/src/styles.css";import "prismjs/themes/prism-tomorrow.css";export default function MyApp({ Component, pageProps }) {return <Component {...pageProps} />;}
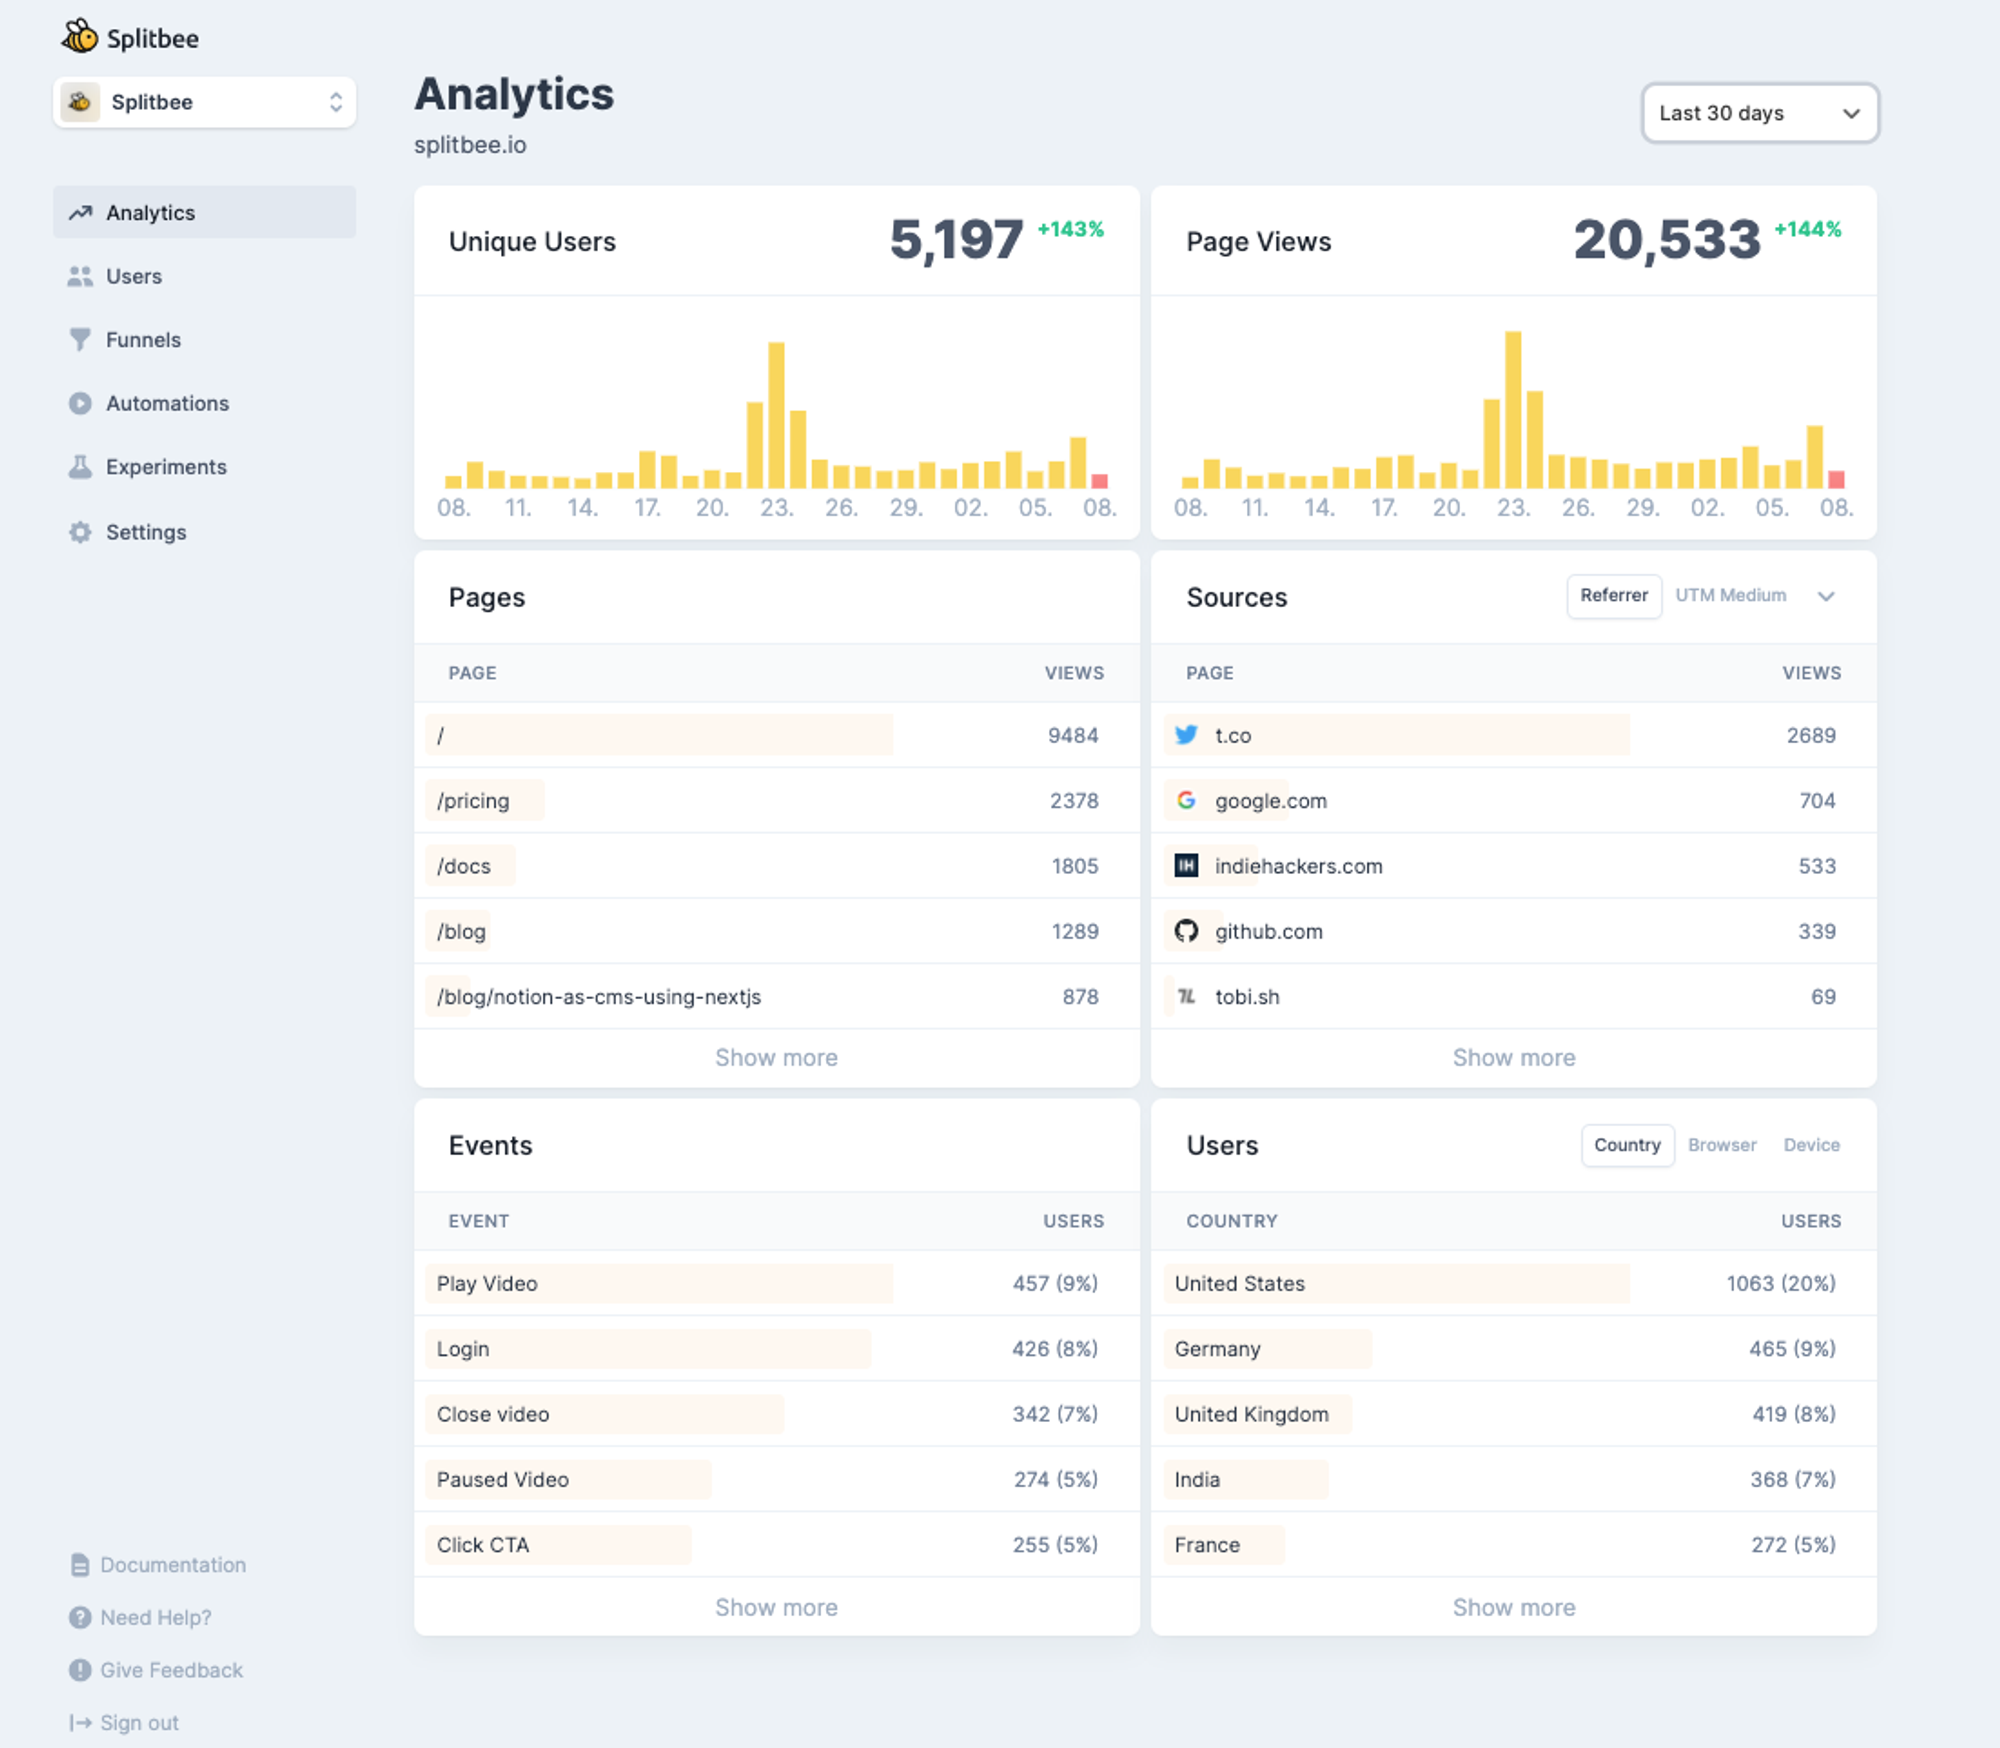
Analytics for your blog
I've spent the last year or so building the best analytics tool possible. Give it a try and let me know what you think of it. It's free with no strings attached.
Getting started with Splitbee is super easy. All you have to do is create an account and add the analytics script tag to your HTML file.
Once you sign up, you should see a script tag appear on the dashboard. Copy and paste it your next head section.
import Head from 'next/head'function Main() {return (<div><Head><title>My Blog</title><script async src="https://cdn.splitbee.io/sb.js"></script></Head><p>Hello world!</p></div>)}export default Main
You did it!
Thanks for reading. If you have any questions, feel free to send them my way on Twitter @linstobias.
You can find the full code on Github: https://github.com/splitbee/react-notion-blog